How to Install Sound Insulation Sponge for Maximum Noise Reduction?
1. Choose the Right Sound Insulation Sponge
Choosing the right sound insulation sponge is crucial for effective noise reduction. Different types of sponges are suitable for different environments and needs, so it’s important to select the appropriate material before installation.
Material Selection
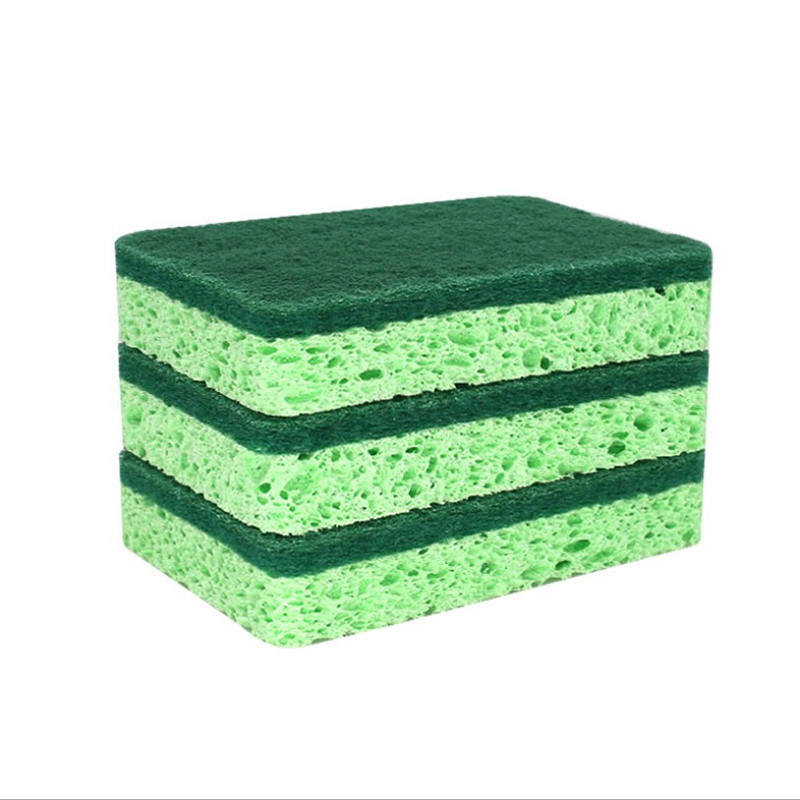
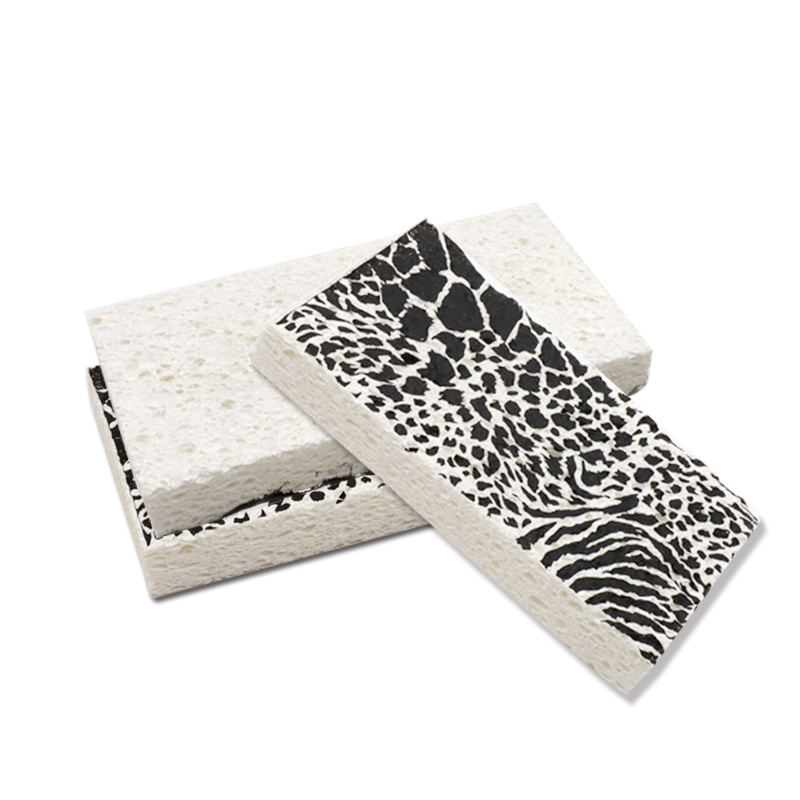
There are many types of sound insulation sponges, with common materials including acoustic foam, melamine foam, and rubber sponges. These materials vary in density, thickness, and sound absorption capacity.
- Acoustic Foam: This material is primarily used to reduce mid-to-high-frequency noise and is suitable for environments like music rooms and recording studios that require high-quality acoustic performance.
- Melamine Foam: Known for its excellent sound absorption properties, melamine foam is often used in offices and home environments. It is denser than typical foam, providing better soundproofing.
- Rubber Sponge: Rubber sponges have excellent compressive strength and sound absorption, making them ideal for isolating high-intensity noise, such as from machines or electrical appliances.
Thickness and Density
The thickness and density of the sponge directly impact its ability to absorb sound. Generally, thicker and denser sponges absorb more sound. A typical thickness for effective noise reduction is 1 inch (2.54 cm) or more, with density determining its soundproofing capability.
- 1-inch (2.54 cm) Thickness: Suitable for light noise isolation in normal environments.
- 2-inch (5.08 cm) or Thicker: Suitable for environments requiring stronger soundproofing, such as conference rooms and recording studios.
Selecting the right thickness and density should be based on your specific needs. For soundproofing walls, thicker and denser sponges are recommended.
2. Prepare the Area
Before installing the sound insulation sponge, it is essential to prepare the installation area. This not only ensures a strong bond between the sponge and the surface but also guarantees maximum sound absorption.
Clean the Surface
Cleaning the surface is key to ensuring a strong bond between the sponge and the installation surface. Walls, ceilings, or other surfaces may have dust, grease, or other contaminants that can affect the adhesive’s effectiveness. Wipe the area thoroughly with a clean cloth and suitable cleaner to ensure the surface is smooth and free from debris.
Measure the Area
Before installation, measure the area to be covered. Knowing the exact dimensions of the space will help you cut the sponge material to the correct size, avoiding waste or incorrect fitting. Be sure to pay special attention to corners, windows, and doorframes, as these can require special attention.
3. Cut the Sponge to Size
Sound insulation sponges often need to be cut to fit specific installation areas. Correct cutting can improve efficiency and ensure the sponge’s soundproofing capabilities.
Use Sharp Tools
For clean and precise cuts, use a sharp utility knife or cutting tool. Avoid using dull knives or scissors, as this can lead to uneven edges, which may affect the overall performance.
Ensure a Proper Fit
When cutting, ensure the sponge is slightly larger than the area you need to cover. This will prevent gaps after installation. Be especially careful when cutting the sponge for corners or narrow spaces to ensure a precise fit and minimize waste.
4. Apply Adhesive
Choosing the right adhesive is crucial to ensuring the sponge sticks securely. Using a high-quality adhesive designed for foam or sponge materials will help enhance soundproofing and ensure the sponge stays in place for a long time.
Choose the Right Adhesive
There are various types of adhesives available, such as spray adhesives and paste adhesives. For foam materials, it is recommended to use a strong adhesive specifically designed for foam. This ensures a lasting bond that won’t break down over time due to temperature changes.
Even Coating
Apply a thin, even layer of adhesive to the back of the sponge. Avoid applying too much adhesive, as excess glue may cause uneven adhesion or interfere with the sponge’s performance. The adhesive should cover the entire back of the sponge without over-saturating it.
5. Install the Sponge
Once the adhesive is applied, you can begin installing the sponge on the walls, ceilings, or other surfaces.
Press Firmly
Position the sponge in the desired spot and gently press it onto the surface to ensure a secure bond. Be sure there are no air bubbles or gaps between the sponge and the surface. You can use a rubber mallet to lightly tap the edges of the sponge, ensuring it is fully adhered.
Leave Gaps for Ventilation
To maximize the sponge’s sound absorption, consider leaving small gaps, especially around windows or doorframes. These gaps will allow airflow and prevent moisture from accumulating inside the sponge, ensuring long-term stability.
6. Seal the Edges
To further enhance soundproofing, it’s important to seal the edges between the sponge and the surface. Using an acoustic sealant can help eliminate any gaps and improve sound isolation.
Use Acoustic Sealant
Apply a suitable acoustic sealant along the edges where the sponge meets the surface. Acoustic sealants help prevent air and sound leakage through any gaps, enhancing the overall soundproofing effect.
Seal Door and Window Areas
If installing the sponge around doors and windows, make sure to pay extra attention to sealing these areas. Doors and windows are often the primary sources of sound leakage, so ensuring they are tightly sealed will help reduce external noise.
7. Allow the Adhesive to Cure
After installation, it’s important to let the adhesive fully dry and cure. This step ensures that the sponge is securely attached and will remain effective over time.
Drying Time
Most adhesives require 24–48 hours to fully cure. During this period, avoid touching the sponge to prevent dislodging or disrupting the adhesive bond. Keep the area well-ventilated to help speed up the drying process.
8. Test the Soundproofing
Once the installation is complete, it’s important to test the soundproofing to ensure the sponge has been installed properly and is effective.
Check for Gaps
You can test the soundproofing by playing sound on one side of the room and listening for any reduction in noise on the other side. If you notice a significant reduction in noise, then the installation has been successful. If the noise persists, check for any gaps and consider adding more sponge layers or making adjustments.
Add Additional Layers if Needed
If the noise reduction is not sufficient, consider adding additional layers of sound insulation sponge or complementing the installation with other soundproofing materials, such as soundproof boards or heavy curtains.
| Step | Action Points |
|---|---|
| Choose the Right Sponge Material | Select denser materials like acoustic foam or rubber sponge. |
| Clean and Measure the Area | Clean the surface and ensure accurate measurements to avoid material waste. |
| Cut the Sponge | Use sharp tools for precise cuts that match the installation area. |
| Apply Adhesive and Install | Apply adhesive evenly and install the sponge firmly on the surface. |
| Seal the Edges | Use acoustic sealant to seal any gaps between the sponge and surface. |
| Allow the Adhesive to Cure | Allow 24–48 hours for full adhesive curing to ensure a secure bond. |
| Test the Soundproofing | Test the noise reduction and consider adding more layers if necessary. |
News Category
- Company News(31)
- Industry News(126)

 简体中文
简体中文 English
 Français
 Português
 日本語
日本語 русский
 Español
 عربى
عربى